We have a proven track record of not just meeting but exceeding our client’s expectations; all the while offering an unmatched customer service experience.
Unmatched Appliance Repair Services
Schedule Your Service
Are you ready to schedule your service? Uptown Appliance Repair diligently assesses needs to match customers with the ideal technician. After you reach out, you can expect us to connect with you as soon as possible. During business hours we respond within the hour. We’re here to help you find the best technician!
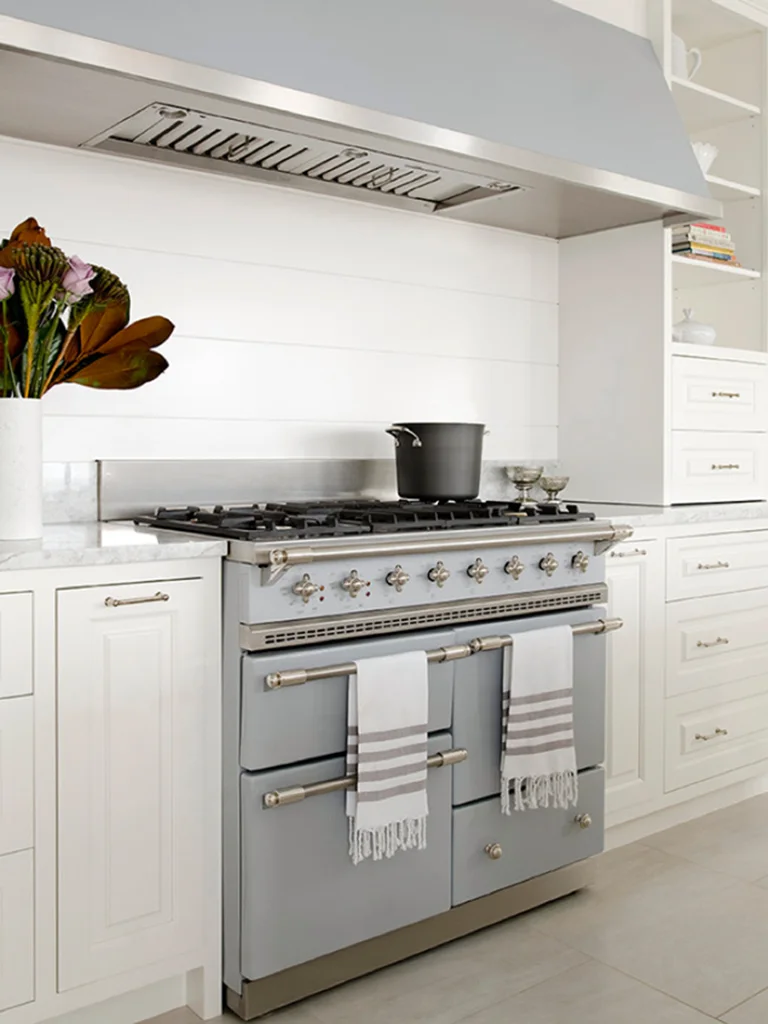
Lacanche
At Uptown Appliance, we are certified to work on LaCanche brand appliances with the utmost precision. Our factory trained technicians will get to the root of the problem and ensure longevity in your investments.
Lacanche SUPPORT
FAQs
We hope this troubleshooting guide below will help answer the most common problems regarding your appliance. If the problem persists, please do not hesitate to call us at (281) 758-9978 to further troubleshoot, or to arrange for one of our specialized technicians to resolve any problems.
⇒ If under warranty, please contact Art Culinaire before scheduling service – 888.222.2930 ⇐
My Burners are too hot, can they be lowered?
The flame height at the LOW setting can be adjusted, but this does not reduce the actual temperature of the flame. Only a diffuser plate or disk will spread out and reduce the actual temperature delivered to the bottom of the pot/pan. The Lacanche simmer plates are designed specifically for this purpose, and we also have diffuser disks available for purchase for use over a single burner.
My igniter isn’t working and there is no clicking sound?
Either the spark module is faulty and must be replaced, or the ignition switch for that burner will not make contact and must be replaced.
My burner won’t light, but I hear clicking?
Either there is no gas at the burner, or the air/fuel mixture will not ignite from the spark plasma. If there is no fuel at the burner, there may be air in the fuel lines. If the range was recently installed, you will need to let all of the air out first (purging), or debris blocking the gas flowing through the lines or valves. If the fuel mixture is off, the air collar for that burner will require adjustment. If the spark is not discharging to the correct spot, the igniter height/position will need to be adjusted.
Why do some burners take longer to ignite than others?
Due to the mechanical nature of these ranges; the gas type, altitude, air intake, injector size, igniter position, spark strength, and burner cap size are all factors that determine how fast or slow each burner would ignite. We do our best to tune each and every burner in our warehouses prior to delivery shipment but at altitudes higher than 5,000ft, final on-site adjustments of the burners may be necessary to get peak performance.
Why will my burners will not stay lit unless I hold the knobs in for 10-20 seconds?
The very first generation (1995-1999) and the current generation (2010-current) use mechanical flame sensors called thermocouples for each gas fired burner built in each range. These thermocouples are a safety feature that will not allow gas to flow through each valve unless this thermocouple sensor senses flame at the burner. The time it takes the flame to heat up these sensors to the point it is able to hold the valve open is roughly 10-20 seconds (some heat even quicker). It is also important that the knob be held in at it’s full depth until the moment before the knob is released, or else the valve will not hold open.
If the burner flame is ever extinguished, the thermocouple is allowed to cool and then causes the valve to snap shut and stop the flow of gas. Some refer to this feature as child-proofing for gas burners and is commonly found in European gas appliances.
Why does the clicking sound different at 2 of my burners than the other 3 and the gas oven?
The spark discharge cycles/sec will differ depending on the module or the output type on the modules (i.e. the yellow 2pt module will discharge @ 3Hz, the white 3+1 module will discharge: top burners @ 6Hz, and the gas oven at 4Hz.
How do I make sure my oven temperatures are correct?
Every range imported by Art Culinaire is tested and calibrated for full oven temperature before being sent to you. Each range is shipped with a temperature test graph that shows the real-time temperature accuracy of each oven. Beyond this, we recommend that the oven temperatures are checked using a digital oven thermometer with a remote sensor probe after proper pre-heat times. Also, make sure that the sensor probe is located directly in the center of the oven cavity with nothing else in the oven.
Why does the convection oven get so hot in the back? Isn’t it supposed to cook everything evenly?
Despite the high flow rate of the forced air circulation fan, the circular heating elements in the convection oven are located surrounding the fan at the rear of the oven cavity. Combined with the fact that the oven door seals are at the front of the oven, this causes a slight heat bias toward the rear of the oven cavity. It is recommended to rotate baked goods 180° halfway through their cooking times to achieve the best results.
How long should I preheat my oven?
Your preheating times will differ based on whether you are using your gas, electric convection, or standard electric oven. For the standard electric oven, we recommend a 30-minute preheat to get to 350 degrees. The electric convection oven will take 15 minutes to preheat and will cook dishes approximately 25% faster than a standard electric oven. Gas ovens will reach a stable 350 degrees in 15 minutes.